Logging into Ubuntu
After installing Ubuntu, you can log in to Ubuntu OS on VisionFive 2 Lite. This section provides different methods for logging into the OS.
Logging into Ubuntu using Desktop over HDMI
To log in to Ubuntu OS on VisionFive 2 Lite using desktop over HDMI:
-
After the HDMI of the display screen is connected, insert the micro-SD card with the Ubuntu image into VisionFive 2 Lite and power on
-
After the desktop login system is displayed, you can use the keyboard and mouse on VisionFive 2 Lite.
-
Enter the credentials as follows:
-
Username: user
-
Password: starfive
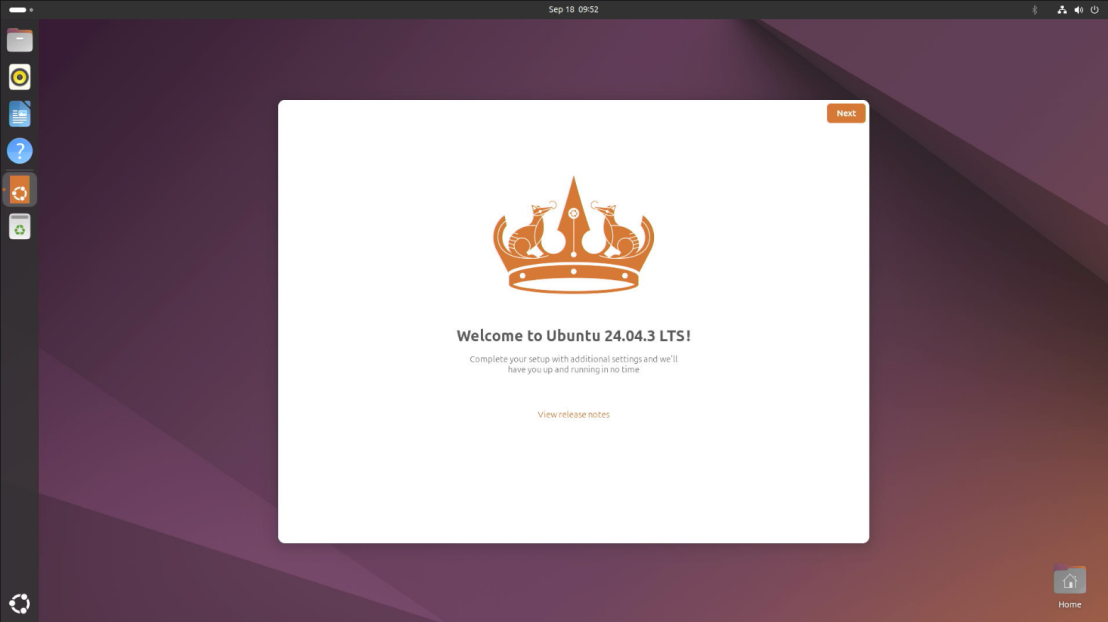
You will see the following screen:
Figure 1. Ubuntu Interface 
-
Logging into Ubuntu using SSH over Ethernet
To log in to Ubuntu OS on VisionFive 2 Lite through an SSH connection over the local network:
- Prepare a VisionFive 2 Lite with Ubuntu image and power on.
- Connect one end of an Ethernet cable to the RJ45 connector on the VisionFive 2 Lite and the other end of the cable to a router.
- After a successful Ethernet connection, your router will assign an IP address to the VisionFive 2 Lite and it will be connected to the Internet.
- Continue the steps according to your OS:
OS Instructions Windows -
Log in to your router (usually you need to enter 192.168.0.1 on the web browser to enter the router)
Go to DHCP configuration and find the IP address of VisionFive 2 Lite.
You can find the IP address by using its hostname starfive
.-
Download and install Putty
-
Open Putty or other SSH terminal tool to log in to Ubuntu.
- Select SSH under the Connection Type.
-
Configure the settings of the following:
-
Host Name: IP address of VisionFive 2 lite
-
Port: 22
-
- Click Open.
.
-
If you need to use the root account for privileged operations in remote access, follow the instructions in Using SSH over Ethernet as Root Account.
-
Enter the credentials as follows:
-
Username: user
If you want to log in as root, enter root as the username.
-
Password: starfive
-
Mac/Linux -
Log in to your router (usually you need to enter 192.168.0.1 on the web browser to enter the router)
Go to DHCP configuration and find the IP address of VisionFive 2 Lite.
You can find the IP address by using its hostname starfive
.-
If you need to use the root account for privileged operations in remote access, follow the instructions in xxx.
- Open a terminal and type the following:
ssh <account>@<VisionFive 2 Lit IP address>For example,ssh user@192.168.0.1 -
Enter starfive as password in the prompt.
-
Logging into Ubuntu using USB-to-Serial converter
You can log in to Ubuntu OS on VisionFive 2 Lite through an SSH connection over the local network:
-
Insert the micro-SD card with the Ubuntu image burned into VisionFive 2 Lite.
- Connect one end of the USB Type-C cable to the USB Type-C port on VisionFive 2 Lite, and connect the other end of the cable to the power adapter.
-
Connect the jumper wires from the USB to Serial Converter to the 40-Pin GPIO header of the VisionFive 2 Lite as follows.
Figure 2. Connecting Jumper Wire 
- Connect the USB-to-Serial converter to the PC.
- Open Device Manager by typing Device Manager in the windows search box.
- Click the drop-down arrow from Ports (COM & LPT) and find the
name of the connected serial port (e.g.: COM4).
Figure 3. Example 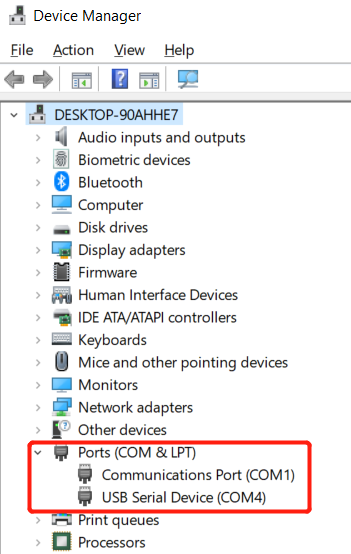
- Download and install PuTTY from: https://www.chiark.greenend.org.uk/%7Esgtatham/putty/latest.html. Tip: PuTTY is an SSH and telnet client through which you can connect to the Carrier Board via SSH. You can skip this step if you already have PuTTY installed.
-
Open Putty to connect the PC to the Carrier Board.
- Select Serial under the Connection Type.
-
Configure the settings as follows:
-
Serial line: COM4 (choose your COM port)
-
Speed: 115200
Figure 4. Example Configuration 
-
-
Click Open.
-
Power on VisionFive 2 Lite.
-
Enter the username and password in the prompt as follows:
-
- Username: user
- Password: starfive
Note: You log in as either user or root. -
For Mac/Linux:
- Prepare VisionFive 2 Lite with Ubuntu image.
- Connect one end of the USB Type-C cable to the USB Type-C port on VisionFive 2 Lite, and connect the other end of the cable to the power adapter.
- Connect the jumper wires between the USB-to-Serial converter and the 40-Pin
GPIO header of VisionFive 2
Lite as follows.
Figure 5. Connecting Jumper Wires
- Connect the USB-to-Serial converter to the PC.
- Open a terminal window on Mac/Linux.
- Update the packages list by the following
command:
sudo apt-get update - Install minicom by the following
command:
sudo apt-get install minicom -
View the connected serial devices.
dmesg | grep tty -
Connect to the serial device by the following command:
sudo minicom -D /dev/ttyUSB0 -b 115200Note: The baud rate is set to 115,200. Power on VisionFive 2 Lite
.-
Enter the username and password in the prompt as follows:
-
- Username: user
- Password: starfive
Note: You log in as either user or root. -