Making File System
Follow the following steps to make the file system.
-
Create the directory structure.
mkdir rootfs cd rootfs mkdir dev usr bin sbin lib etc proc tmp sys var root mnt -
Download the BusyBox source code outside the rootfs directory.
git clone https://git.busybox.net/busybox -
Navigate to the extracted location and enter BusyBox configuration.
cd busybox
make CROSS_COMPILE=riscv64-linux-gnu- ARCH=riscv menuconfig
Figure 1. Busybox Configuration 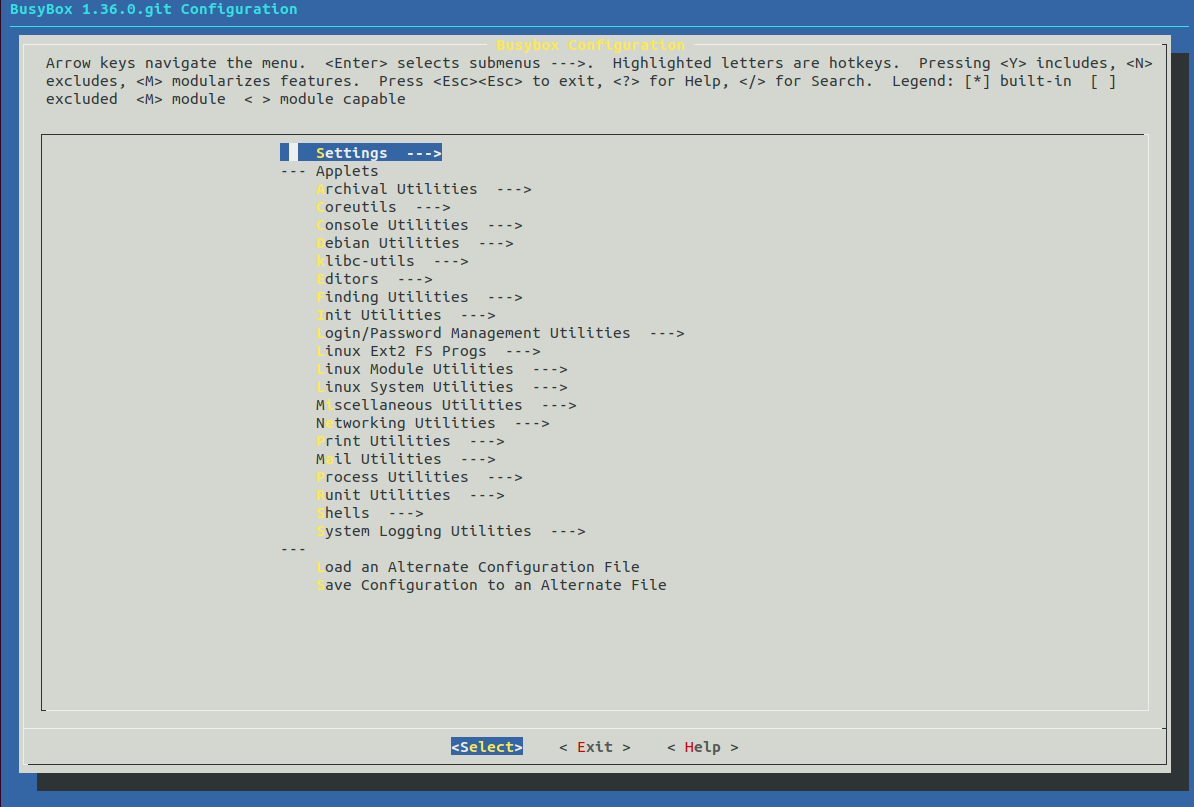
-
Navigate to and check Build static binary (no shared libs) by
pressing Y.
Figure 2. Check Build static binary (no shared libs) 
-
Specify the compiler:
-
Under Build Options, select (riscv64-linux-gnu-)
Cross compiler prefix.
Figure 3. Select Cross Compiler Prefix 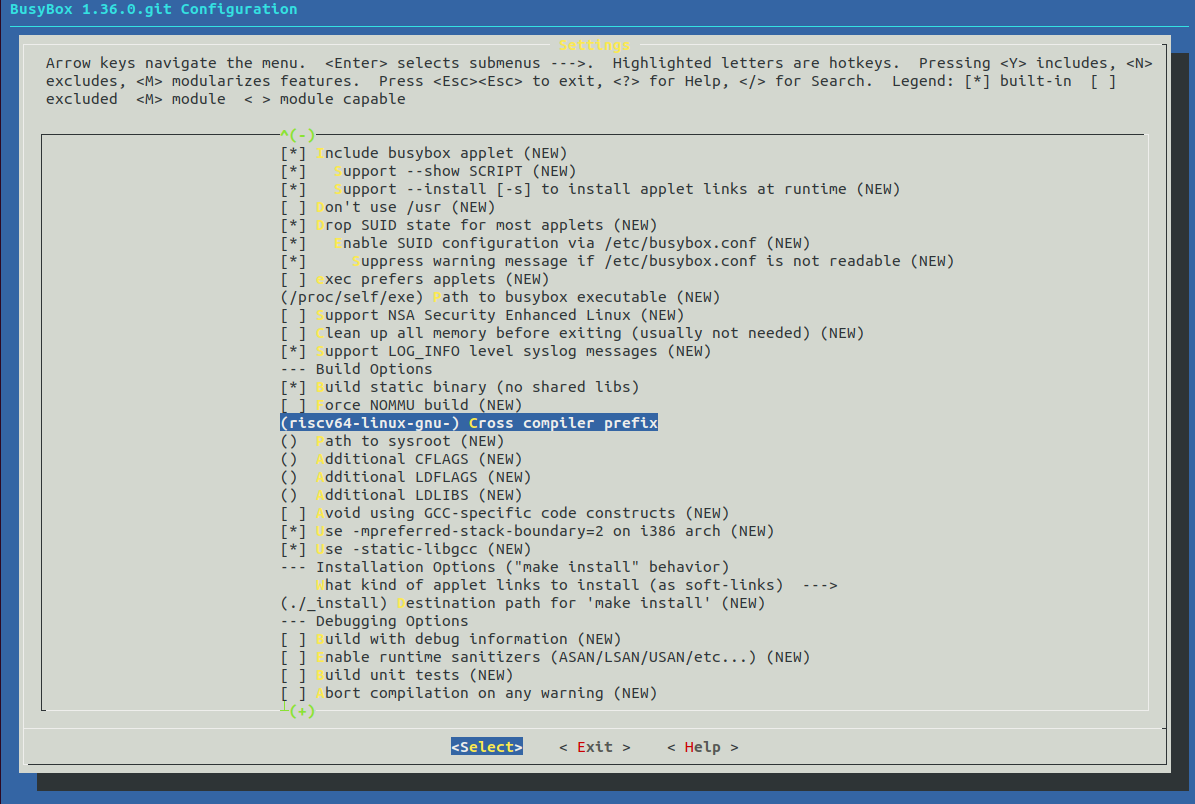
-
Under Build Options, select (riscv64-linux-gnu-)
Cross compiler prefix.
-
Under , change the path to the path of the rootfs file directory (this is the
installation location of the compiled BusyBox).
Example:
/home/user/rootfsFigure 4. UI Example 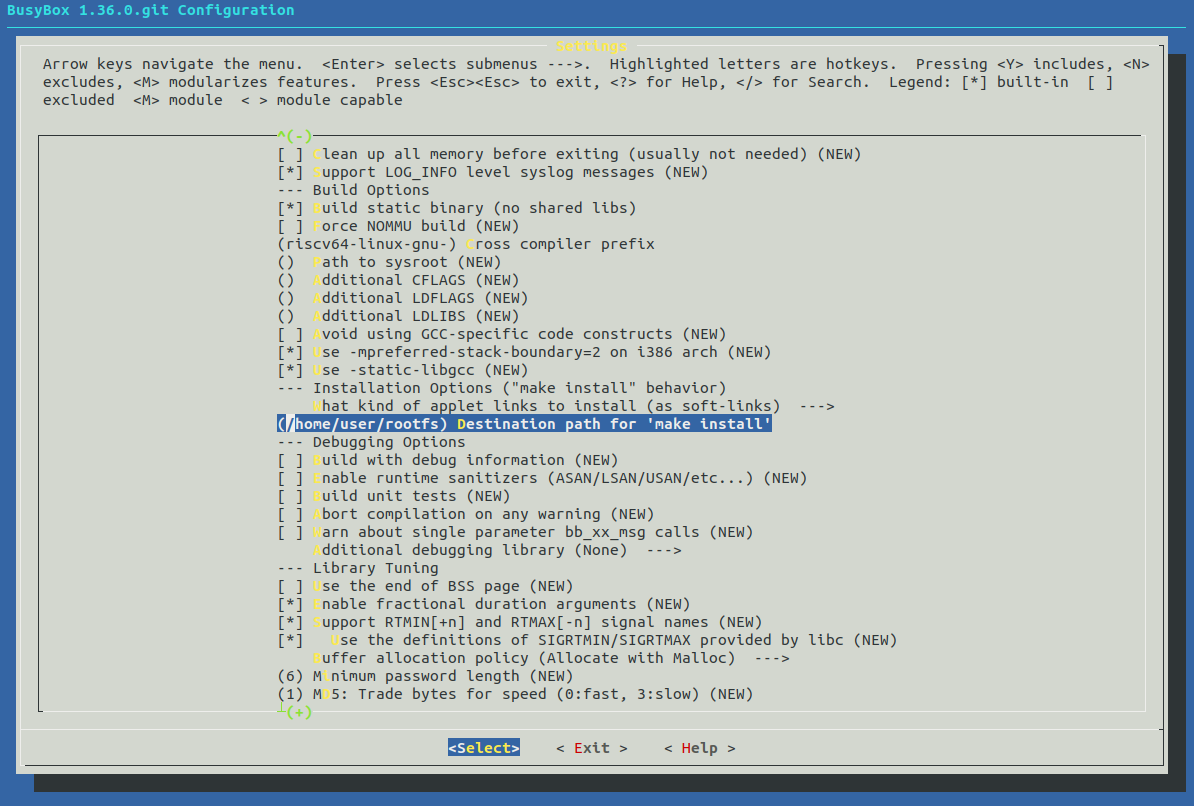
- Save the configuration and exit from the busybox configuration window.
-
Compile BusyBox.
make ARCH=riscv -
Install BusyBox.
make install -
Navigate to the rootfs/etc directory created before, create a
file called inittab and open it using vim text editor.
cd rootfs/etc vim inittab -
Copy and paste the following content inside the
inittabfile.::sysinit:/etc/init.d/rcS ::respawn:-/bin/login ::restart:/sbin/init ::ctrlaltdel:/sbin/reboot ::shutdown:/bin/umount -a -r ::shutdown:/sbin/swapoff -a -
Create a file called profile inside rootfs/etc and open it using
vim text editor.
vim profile -
Copy and paste the following content inside the profile file.
# /etc/profile: system-wide .profile file for the Bourne shells echo # echo -n "Processing /etc/profile... " # no-op # Set search library path # echo "Set search library path in /etc/profile" export LD_LIBRARY_PATH=/lib:/usr/lib # Set user path # echo "Set user path in /etc/profile" PATH=/bin:/sbin:/usr/bin:/usr/sbin export PATH # Set PS1 # Note: In addition to the SHELL variable, ash supports \u, \h, \W, \$, \!, \n, \w, \nnn (octal numbers corresponding to ASCII characters) # And \e[xx;xxm (color effects), etc. # Also add an extra '\' in front of it! # echo "Set PS1 in /etc/profile" export PS1="\\e[00;32m[$USER@\\w\\a]\\$\\e[00;34m" # echo "Done" -
Create a file called fstab inside rootfs/etc
and open it using vim text editor.
vim fstab -
Copy and paste the following content inside the fstab file.
proc /proc proc defaults 0 0 none /tmp tmpfs defaults 0 0 mdev /dev tmpfs defaults 0 0 sysfs /sys sysfs defaults 0 0 -
Create a file called passwd inside rootfs/etc
and open it using vim text editor.
vim passwd -
Copy and paste the following content inside the passwd file.
root:x:0:0:root:/root:/bin/sh -
Create a file called group inside rootfs/etc
and open it using vim text editor.
vim group -
Copy and paste the following content inside the group file.
root:x:0:root -
Create a file called shadow inside
rootfs/etc and open it using vim text editor.
vim shadow -
Copy and paste the following content inside the shadow file.
root:BAy5qvelNWKns:1:0:99999:7::: -
Create a directory called init.d inside
rootfs/etc and navigate inside it.
mkdir init.d cd init.d -
Create a file called rcS inside
rootfs/etc/init.d and open it using vim text editor.
vim rcS -
Copy and paste the following content inside the rcS file.
#! /bin/sh #echo "----------mount all" /bin/mount -a #echo "----------Starting mdev......" #/bin/echo /sbin/mdev > /proc/sys/kernel/hotplug mdev -s echo "********************************************************" echo " starfive mini RISC-V Rootfs" echo "********************************************************" -
Navigate to the
rootfs/devdirectory created before and execute the following.1 cd rootfs/dev 2 sudo mknod -m 666 console c 5 1 3 sudo mknod -m 666 null c 1 3 -
Create a soft link in the root directory of rootfs.
1 cd rootfs/ 2 ln -s bin/busybox init -
Modify the permissions of all files in the rootfs directory.
sudo chmod 777 -R * -
Execute the following command in the rootfs directory to generate
rootfs.cpio.gz (cpio file system package) in a different
directory.
1 cd rootfs
2 find . | cpio -o -H newc | gzip > /home/user/Desktop/rootfs.cpio.gz
Note: After you successfully run the command above, you will see a file named rootfs.cpio.gz on your Desktop. This directory can be any directory you want. If your CPU has 8 cores, change this to -j8. This process will take some time and therefore please wait patiently.