For Mac/Linux
-
Clone the following GitHub repo which includes a bootloader recovery and updater tool.
git clone https://github.com/xypron/JH71xx-tools/ -
Navigate to the cloned repo and build the tool.
cd JH71xx-tools gcc -o jh7100-recover jh7100-recover.c -
Copy JH7100_recovery_boot.bin, bootloader and
ddr init to the JH71xx-tools directory.
Note: This step is not a must, but it makes it more convenient in the following steps when we point to the file locations.
-
Type the following in the terminal to view the connected serial devices.
dmesg | grep ttyFigure 1. Example Output 
-
Type the following and it will wait for bootloader mode.
sudo ./jh7100-recover -D /dev/ttyUSB0 -r jh7100_recovery_boot.bin -b bootloader-JH7100-211102.bin.out -d ddrinit-2133-211102.bin.outFigure 2. Example Output  Note: You may change the serial port according to yours and also the file locations if you haven't moved them into the JH71xx-tools directory.
 -
Press on the BOOT button while turning on VisionFive to enter bootloader mode.
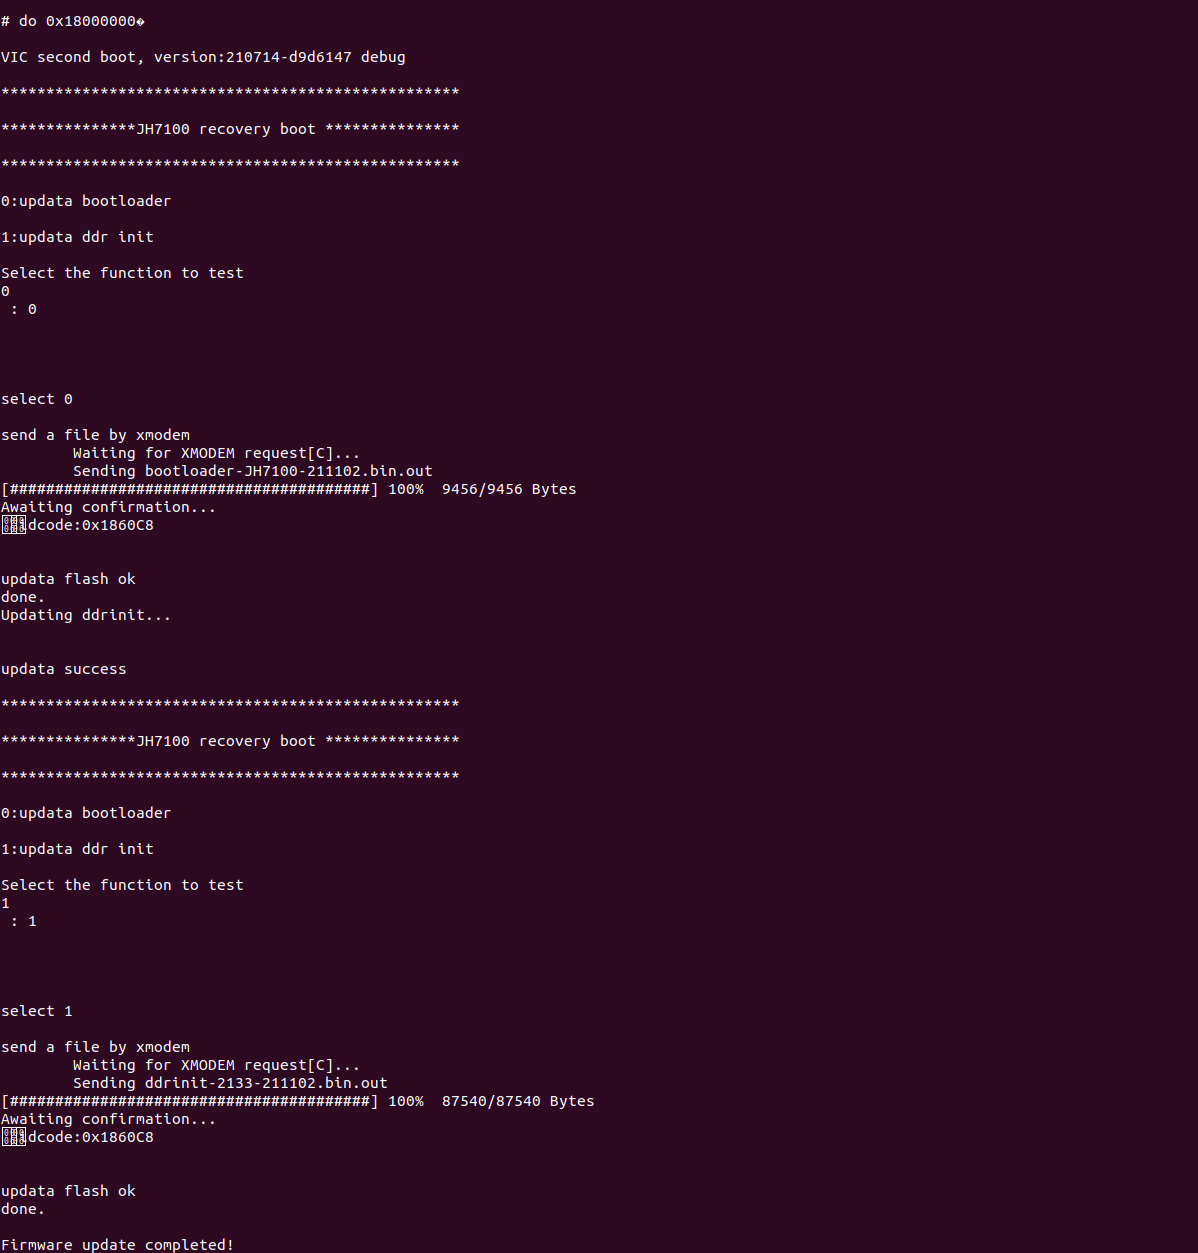
Figure 3. Pressing on the Boot Button 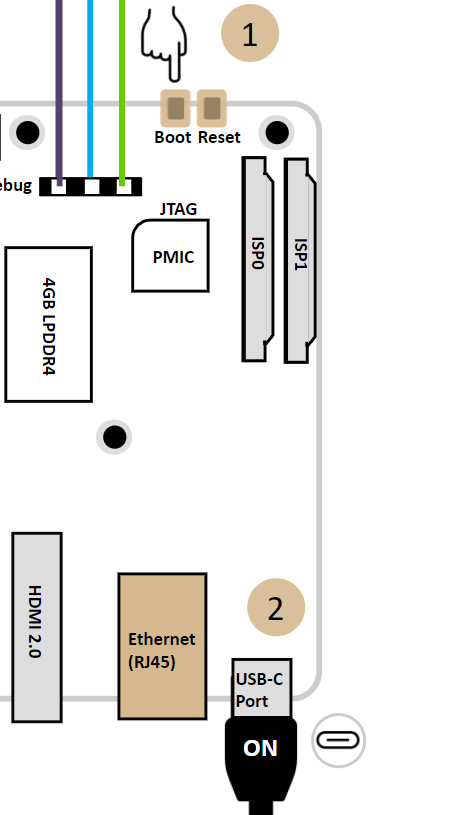 Example Result:If you see the following output, you have successfully updated bootloader and ddr init.
Figure 4. Example Output