Why error occurs and the cursor is freezing on Debian with my 4K monitor?
Description
My monitor supports both 4K and 1080 modes. When the screen starts with Debian, it shows cursor and the cursor becomes unresponsive, or the screen just cannot display. How can I fix this issue?
Cause
Currently some resolution cannot be supported via HDMI, such as 4K.
Solution
StarFive software team is working hard on solving this issue and this issue will be fixed in a future software release. Follow our progress on this page.
Currently, we have a workaround which is to set the resolution to a supported resolution, for example, 1920×1080:
- When the screen starts with Debian, it shows cursor and the cursor is
freezing:
- Execute the following to check the supported resolution of the
monitor:
modetest -M starfive -c
- If the output shows it is a 4K monitor, execute
the following to edit /etc/lightdm/lightdm.conf
file:
vi /etc/lightdm/lightdm.conf
- Add following line under
[Seat:*] in
/etc/ligtdm/lightdm.conf:
display-setup-script=xrandr -s 1920x1080Figure 1. Example Settings 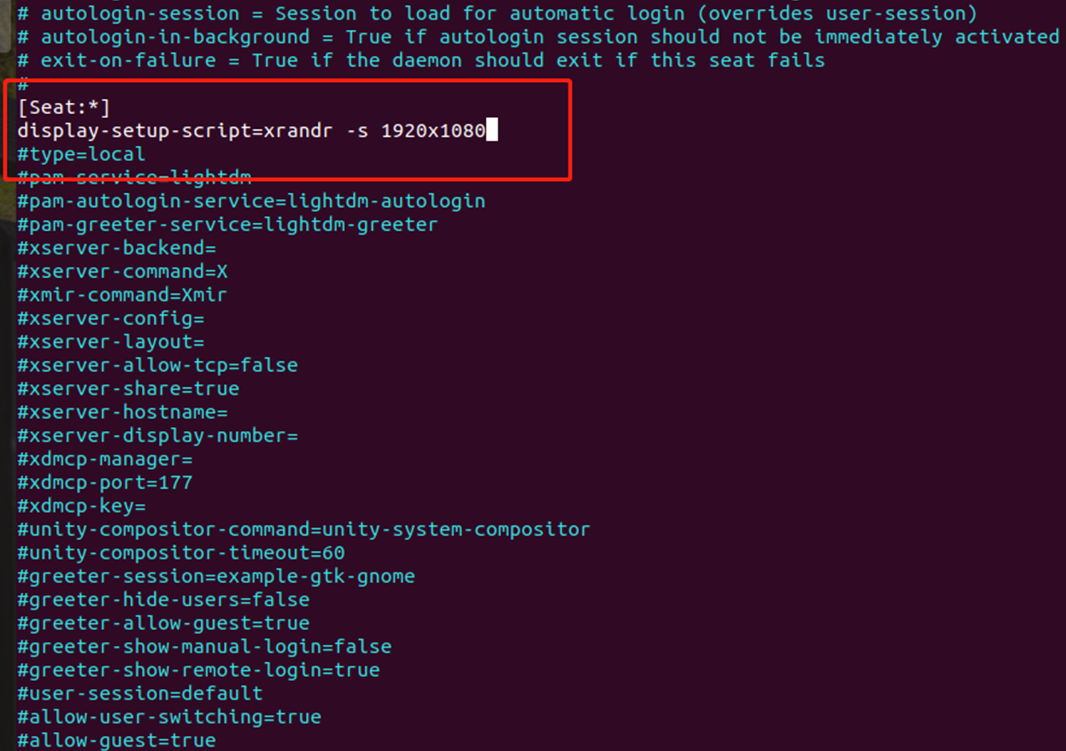
- Restart the system to make the configuration
take
effect:
systemctl restart lightdm
- Execute the following to check the supported resolution of the
monitor:
- If the screen cannot display, VisionFive 2 may have
not entered the Debian system. Perform the following steps:
- Make sure you have used the correct power supply for VisionFive 2. VisionFive 2 has a USB Type-C port and uses a 5V / 3A power adapter. For more information, please refer to the Required Hardware section in the VisionFive 2 Single Board Computer Quick Start Guide .
- Update to the SPL and U-Boot to the latest version. For instructions, refer to Updating SPL and U-Boot section in the quick start guide.
- After updating the SPL and U-Boot, and entering the Debian, execute
the following to make sure the monitor is connected and check the
supported resolution of the
monitor:
modetest -M starfive -c
- If the output shows it is a 4K monitor, execute the following to
edit the /etc/lightdm/lightdm.conf
file:
vi /etc/lightdm/lightdm.conf
- Add following line under [Seat:*] in
/etc/ligtdm/lightdm.conf:
display-setup-script=xrandr -s 1920x1080Figure 2. Example Settings
- Restart the system to make the configuration take
effect:
systemctl restart lightdm