Software Environment
Follow the steps below to set up the software environment:
- Execute the following command to compile the component:
$ sudo apt-get install build-essential linux-source bc kmod cpio flex libncurses5-dev libelf-dev libssl-dev dwarves bison git gcc-riscv64-linux-gnu g++-riscv64-linux-gnu vim tree
- Execute the following command to checkou source code:
$ git clone https://github.com/starfive-tech/linux.git
- See the Debian release information, find and switch the kernel source code to the corresponding version. In this section, taking Debian202403 as an example, the corresponding kernel version is v5.11.3. Execute the following command to switch branch:
$ git checkout JH7110_VF2_515_v5.11.3
The following figure is an example output:Figure 1. Example Output 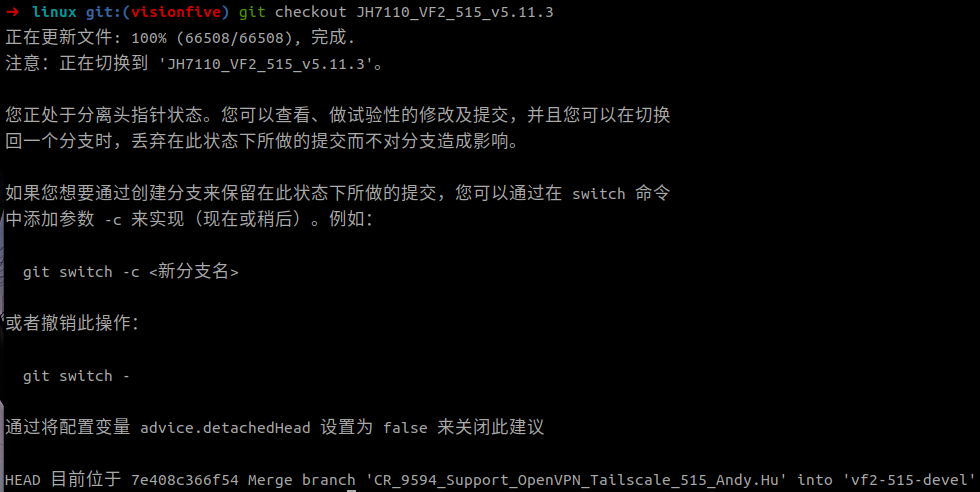
- Execute the following command to set the default
configuration of compiling Linux
kernel:
make <Configuration_File> CROSS_COMPILE=riscv64-linux-gnu- ARCH=riscvTip: <Configuration_File>: This file is starfive_visionfive2_defconfig on VisionFive 2. - (Optional) Modify the configuration file. To modify the kernel configuration, execute the following command:
$ make ARCH=riscv CROSS_COMPILE=riscv64-linux-gnu- menuconfig
The following is an example of modifying a configuration file:
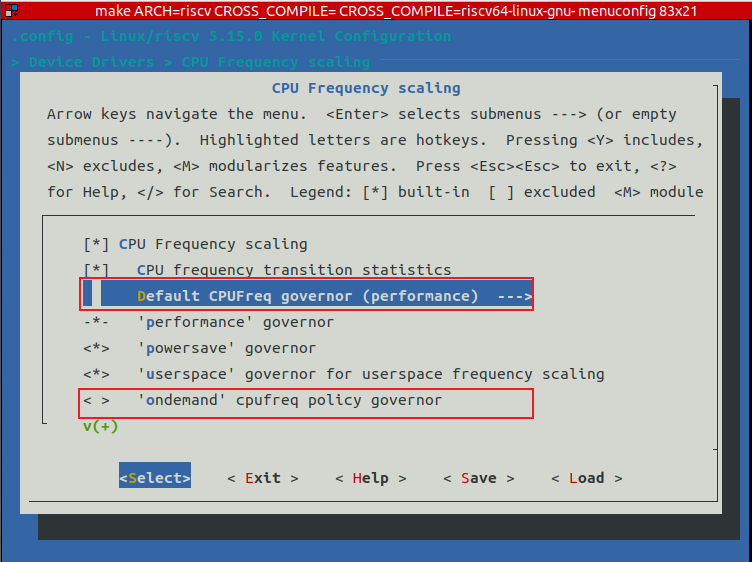
Change the CPUFreq governor from ondemand to performance.
Under , change the Default CPUFreq governor from ondemand to performance and uncheck the ondemand option, as shown in the following figure:Figure 2. Ondemand 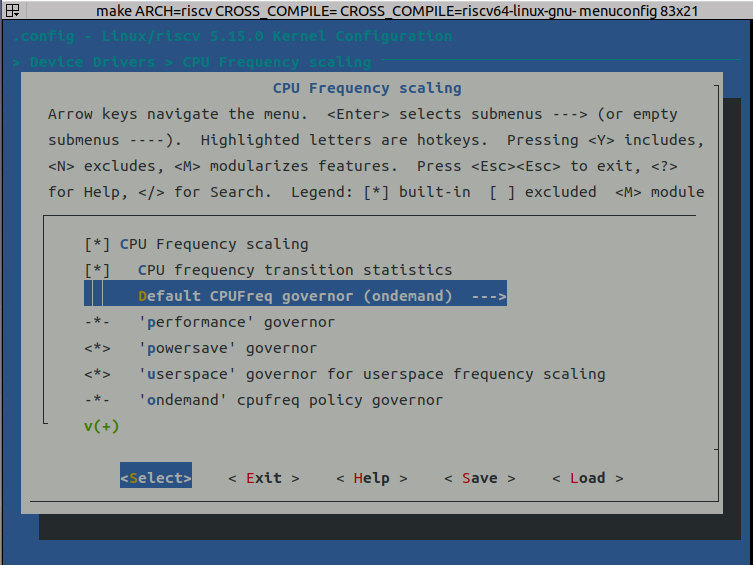
Figure 3. Performance