Flashing OS to a Micro-SD Card (TF Version)
To run Ubuntu or Debian (both Linux distributions) on VisionFive 2 Lite, you first need to flash the operating system (OS) image to a microSD card. This section provides step-by-step examples for flashing the OS to a microSD card using either Linux or Windows host systems.
To flash the OS image to a micro-SD card:
- Insert a micro-SD card into the computer through a micro-SD card reader, or by a built-in card reader on a laptop.
- Download the latest Ubuntu or Debian image from Github.
- Extract the .bz2 file.
The image downloaded is in an img.bz2 compressed format. To extract the image, you will need to use a tool like 7-Zip in Windows/Linux or
bzip2command.For bzip2, you can use the following command, this command will remove the original img.bz2 file. :
bzip2 -d <filename>.img.bz2
To preserve the original file, you will need to use:
bzip2 -dk <filename>.img.bz2 -
Visit the BalenaEther website to download it. We will use BalenaEtcher software to flash the Ubuntu image to a micro-SD card.
-
Install BalenaEtcher and open it.
Figure 1. Install BalenaEtcher 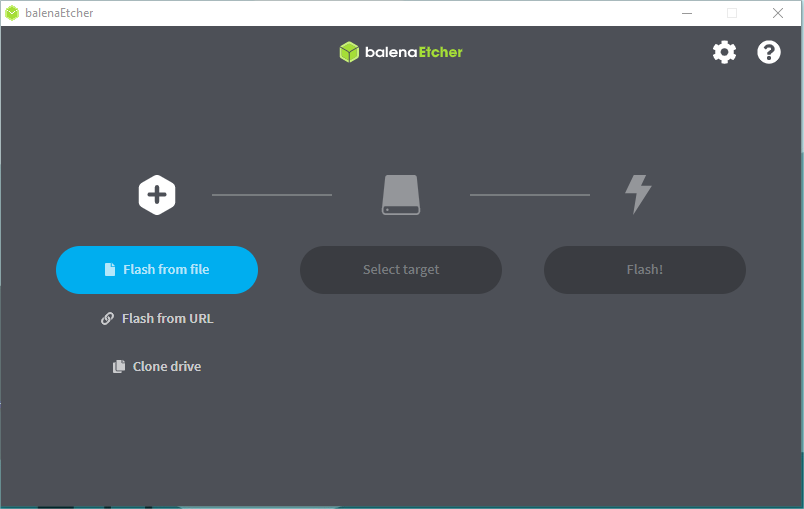
-
Click Flash from file and select the location of the image where we just unzipped the following file:
starfive-jh7110S-VF2-Lite-<Version>.imgTip: <Version> indicates the version number of the Ubuntu image. -
Click Select target and select the connected micro-SD card.
-
Click Flash! to start the flash task.