For Windows
Steps:
- Insert the micro-SD card with the Debian image burnt into VisionFive 2.
- Connect one end of the USB Type-C cable to the USB Type-C port on the VisionFive 2, and connect the other end of the cable to the power adapter.
-
Connect the jumper wires from the USB to Serial Converter to the 40-Pin GPIO header of
the VisionFive
2 as follows.
Figure 1. Connecting Jumper Wire 
- Connect the USB-to-Serial converter to the PC.
- Open Device Manager by typing Device Manager in the windows search box.
-
Click the drop-down arrow from Ports (COM & LPT) and find
the name of the connected serial port (e.g.: COM4).
Figure 2. Example 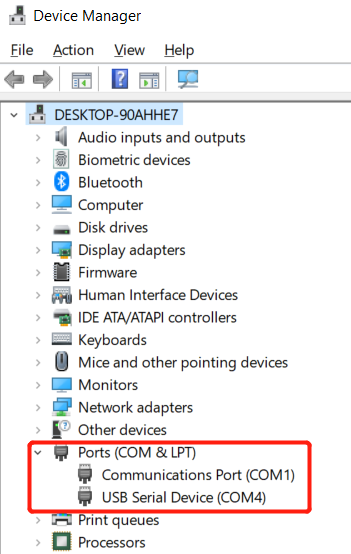
-
Download and install PuTTY by visiting this link.
Tip: PuTTY is an SSH and telnet client through which you can connect to the Carrier Board via SSH. You can skip this step if you already have PuTTY installed.
-
Open Putty to connect the PC to the Carrier Board.
-
Configure the settings as follows:
-
Serial line: COM4 (choose your COM port)
-
Speed: 115200
Figure 3. Example Configuration 
-
-
Configure the settings as follows:
- Power on the VisionFive 2.
-
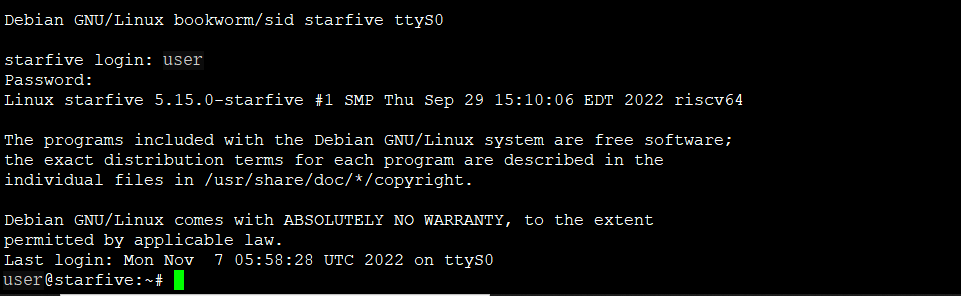
Type username and password in the prompt as follows:
Note: You can use either user or root account to login. The following example use user to login.
- Username: user
- Password: starfive
Result:Now you have connected with the VisionFive 2 via serial communication using windows!
Figure 4. Example Output