LCD Display
This section describes how to use VisionFive 2 or VisionFive 2 Lite's SPI for LCD display. The 2.4inch LCD module is used in this demo program to show how pictures are displayed through an example program with Python.
Hardware Setup
Connect the 2.4inch LCD module to the 40-pin GPIO Header.
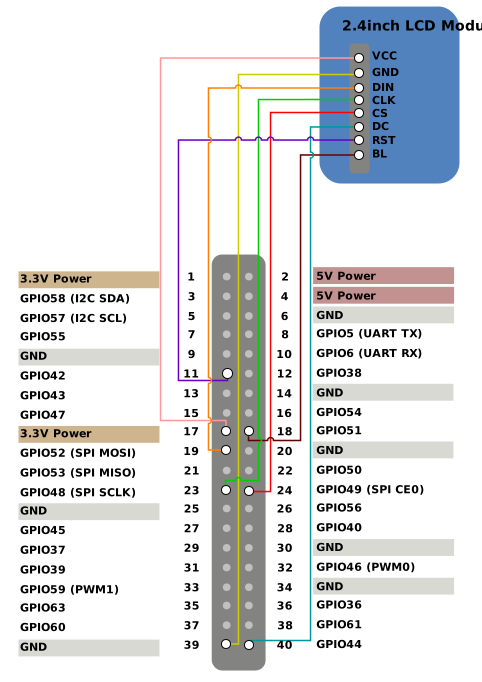
| 2.4inch LCD Module | 40-Pin GPIO Header | |
|---|---|---|
| Pin Number | Pin Name | |
| VCC | 17 | 3.3V Power |
| GND | 39 | GND |
| DIN | 19 | GPIO52 (SPI MOSI) |
| CLK | 23 | GPIO48 (SPI SCLK) |
| CS | 24 | GPIO49 (SPI CE0) |
| DC | 40 | GPIO44 |
| RST | 11 | GPIO42 |
| BL | 18 | GPIO51 |
Run Demo Code
Perform the following steps on Debian of VisionFive 2 or VisionFive 2 Lite.
-
Locate the directory where the test code,
2.4inch_LCD_demo, exists.-
Install the dependency.
python3 -m pip install pillow -
Get the directory where
VisionFive.gpioexists.python3 -m pip show VisionFive.gpioNote: The output depends on how the application is installed. -
Enter the
VisionFive.gpiodirectory.cd <VisionFive.gpiodirectory> -
Enter the
sample-codedirectory.cd ./VisionFive/sample-code/ -
Enter the directory where the test code,
2.4inch_LCD_demoexists.cd ./lcddemo/example/
-
Under the
exampledirectory, execute the following command to run the demo code.
Alternatively, you can also run the following command.sudo python 2.4inch_LCD_demosudo python3 2.4inch_LCD_demoOn the 2.4inch LCD:-
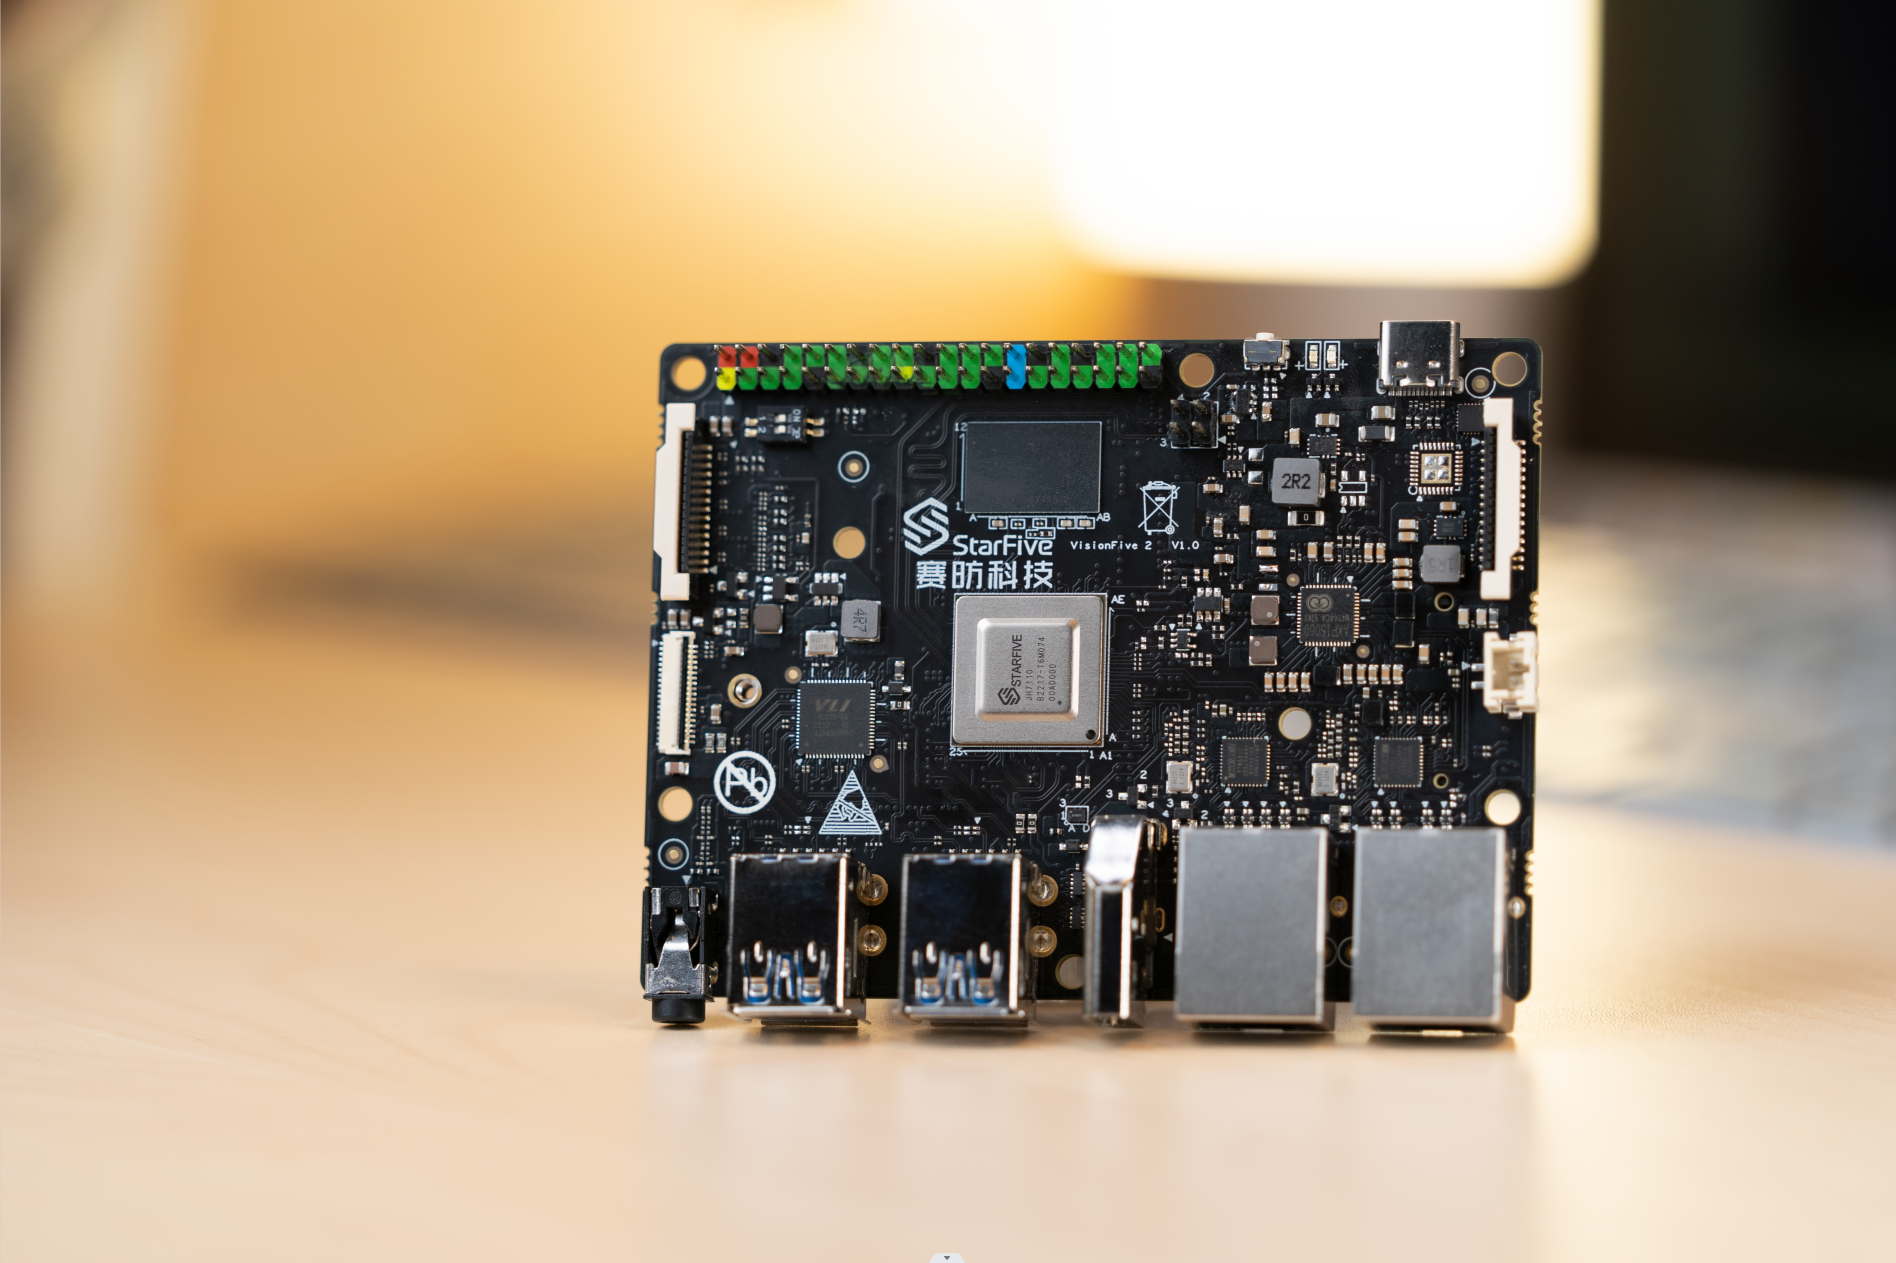
The following picture with the StarFive logo is displayed for 2 seconds.
-
The, the following two pictures are displayed in turn.
Figure 2. Example Output 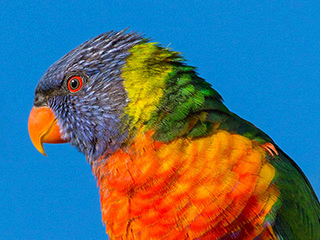

Note: For details about the source code, see 2.4inch_LCD_demo Source Code.-
-
(Optional) Exit the Python3 Virtual Environment.
deactivate